Shipping cartons with perfect packaging not only create an impressive first impression on customers, but also serve as the core guarantee for safe delivery of goods. If a carton is folded crookedly with split edges, it will not only look unprofessional, but may also fall apart mid-transit.
In fact, assembling shipping cartons is surprisingly straightforward. Master a few core techniques, and you can put together packaging boxes of all sizes with ease.
Why Proper Shipping cartons Assembly Matters?
This process is far more than simply folding a piece of cardboard. Standardized assembly directly affects the following key factors:
Load-bearing capacity of the box: Well-structured cartons can withstand greater external pressure.
Product safety: Reduce risks of goods shifting and sustaining damage during shipment.
Brand professionalism: Neat, tidy packaging instantly builds customer trust in your brand.
On the contrary, improper folding often results in bulging, split cartons or wide gaps, which undermines both packing efficiency and visual appeal.
Preparations: Set Up an Ideal Packing Station
Complete these two preparation steps before you start assembling:
Clear your workspace
Find a flat, clean surface such as a large table or packing counter. Wipe away dust and debris to avoid scratches on the carton surface.
Identify score lines
Lay out the flat carton completely. You will notice pre-pressed indentations on the cardboard known as score lines. These lines act as your guide, making folding much smoother.
Prepare tools
Keep a reliable packing tape dispenser on hand. Tape-free carton styles require no extra tools besides your hands.
Assembly Guide for Common Shipping cartons Types
Different box designs follow unique assembly procedures. Below are assembly instructions for the two most widely used styles:
Style 1: Classic Mailer Boxes
Mailer boxes are the top choice for e-commerce shipments, brand subscription kits and delicate gift packaging. Usually die-cut from a single sheet of sturdy cardboard, they lock firmly into shape without any tape and deliver an elegant look.
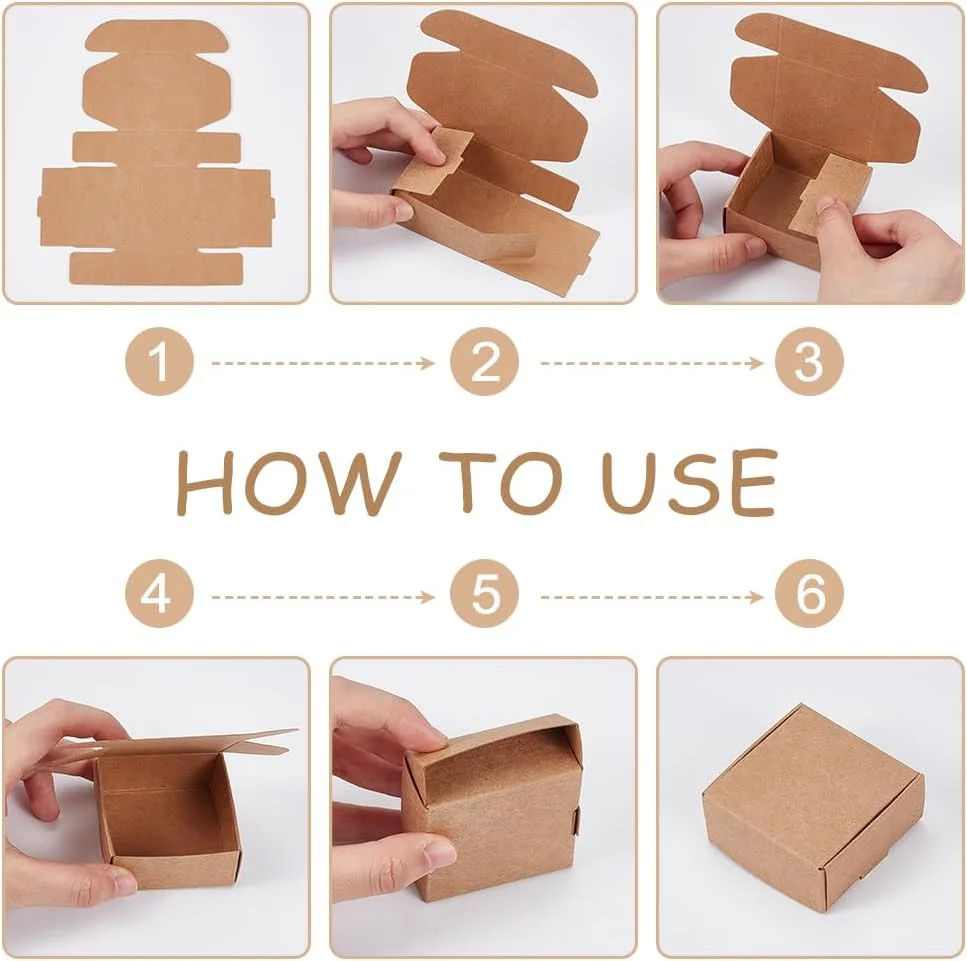
Step 1: Pre-fold along all score lines
Lay the mailer box flat and gently fold inward along every score line. This loosens the cardboard, resulting in crisp, clean folds during subsequent assembly.
Step 2: Stand up front and side panels
Place the box base flat. First lift the front panel fitted with two small locking tabs upward. Fold the left and right side walls upright, then wrap the extended edges of the side walls around the small front tabs.
Step 3: Lock the inner panels
Fold the innermost cardboard layer of each side wall down to fasten the wrapped small tabs securely. You will hear a soft click or feel the cardboard slot firmly into the base groove, leaving the box body stable.
Step 4: Close and lock the lid
Place your products and cushioning materials inside, then pull the front lid down. Slide the dust flaps on both sides of the lid along the inner edge of the side walls, and finally insert the front locking tab into the front slot to secure the box.
Style 2: Standard Shipping Cartons
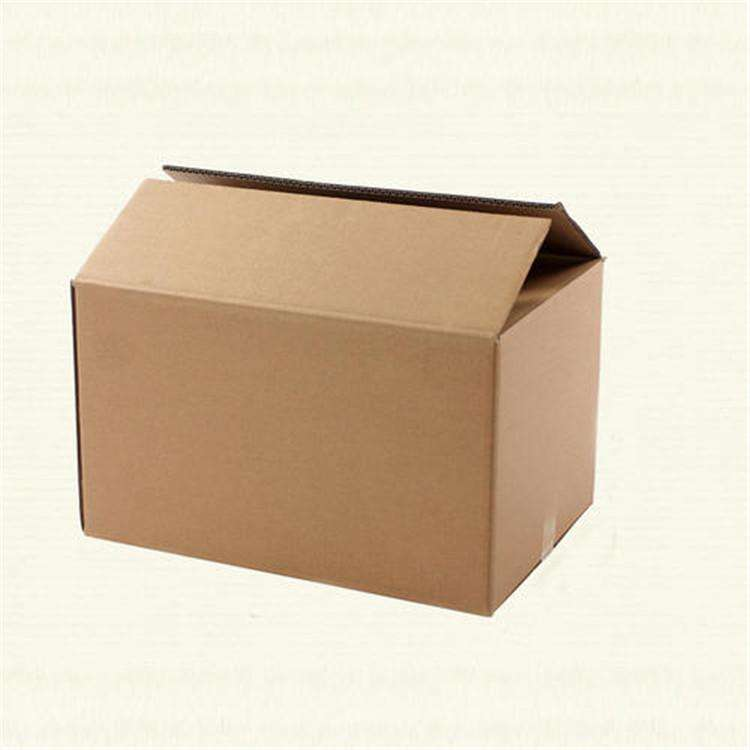
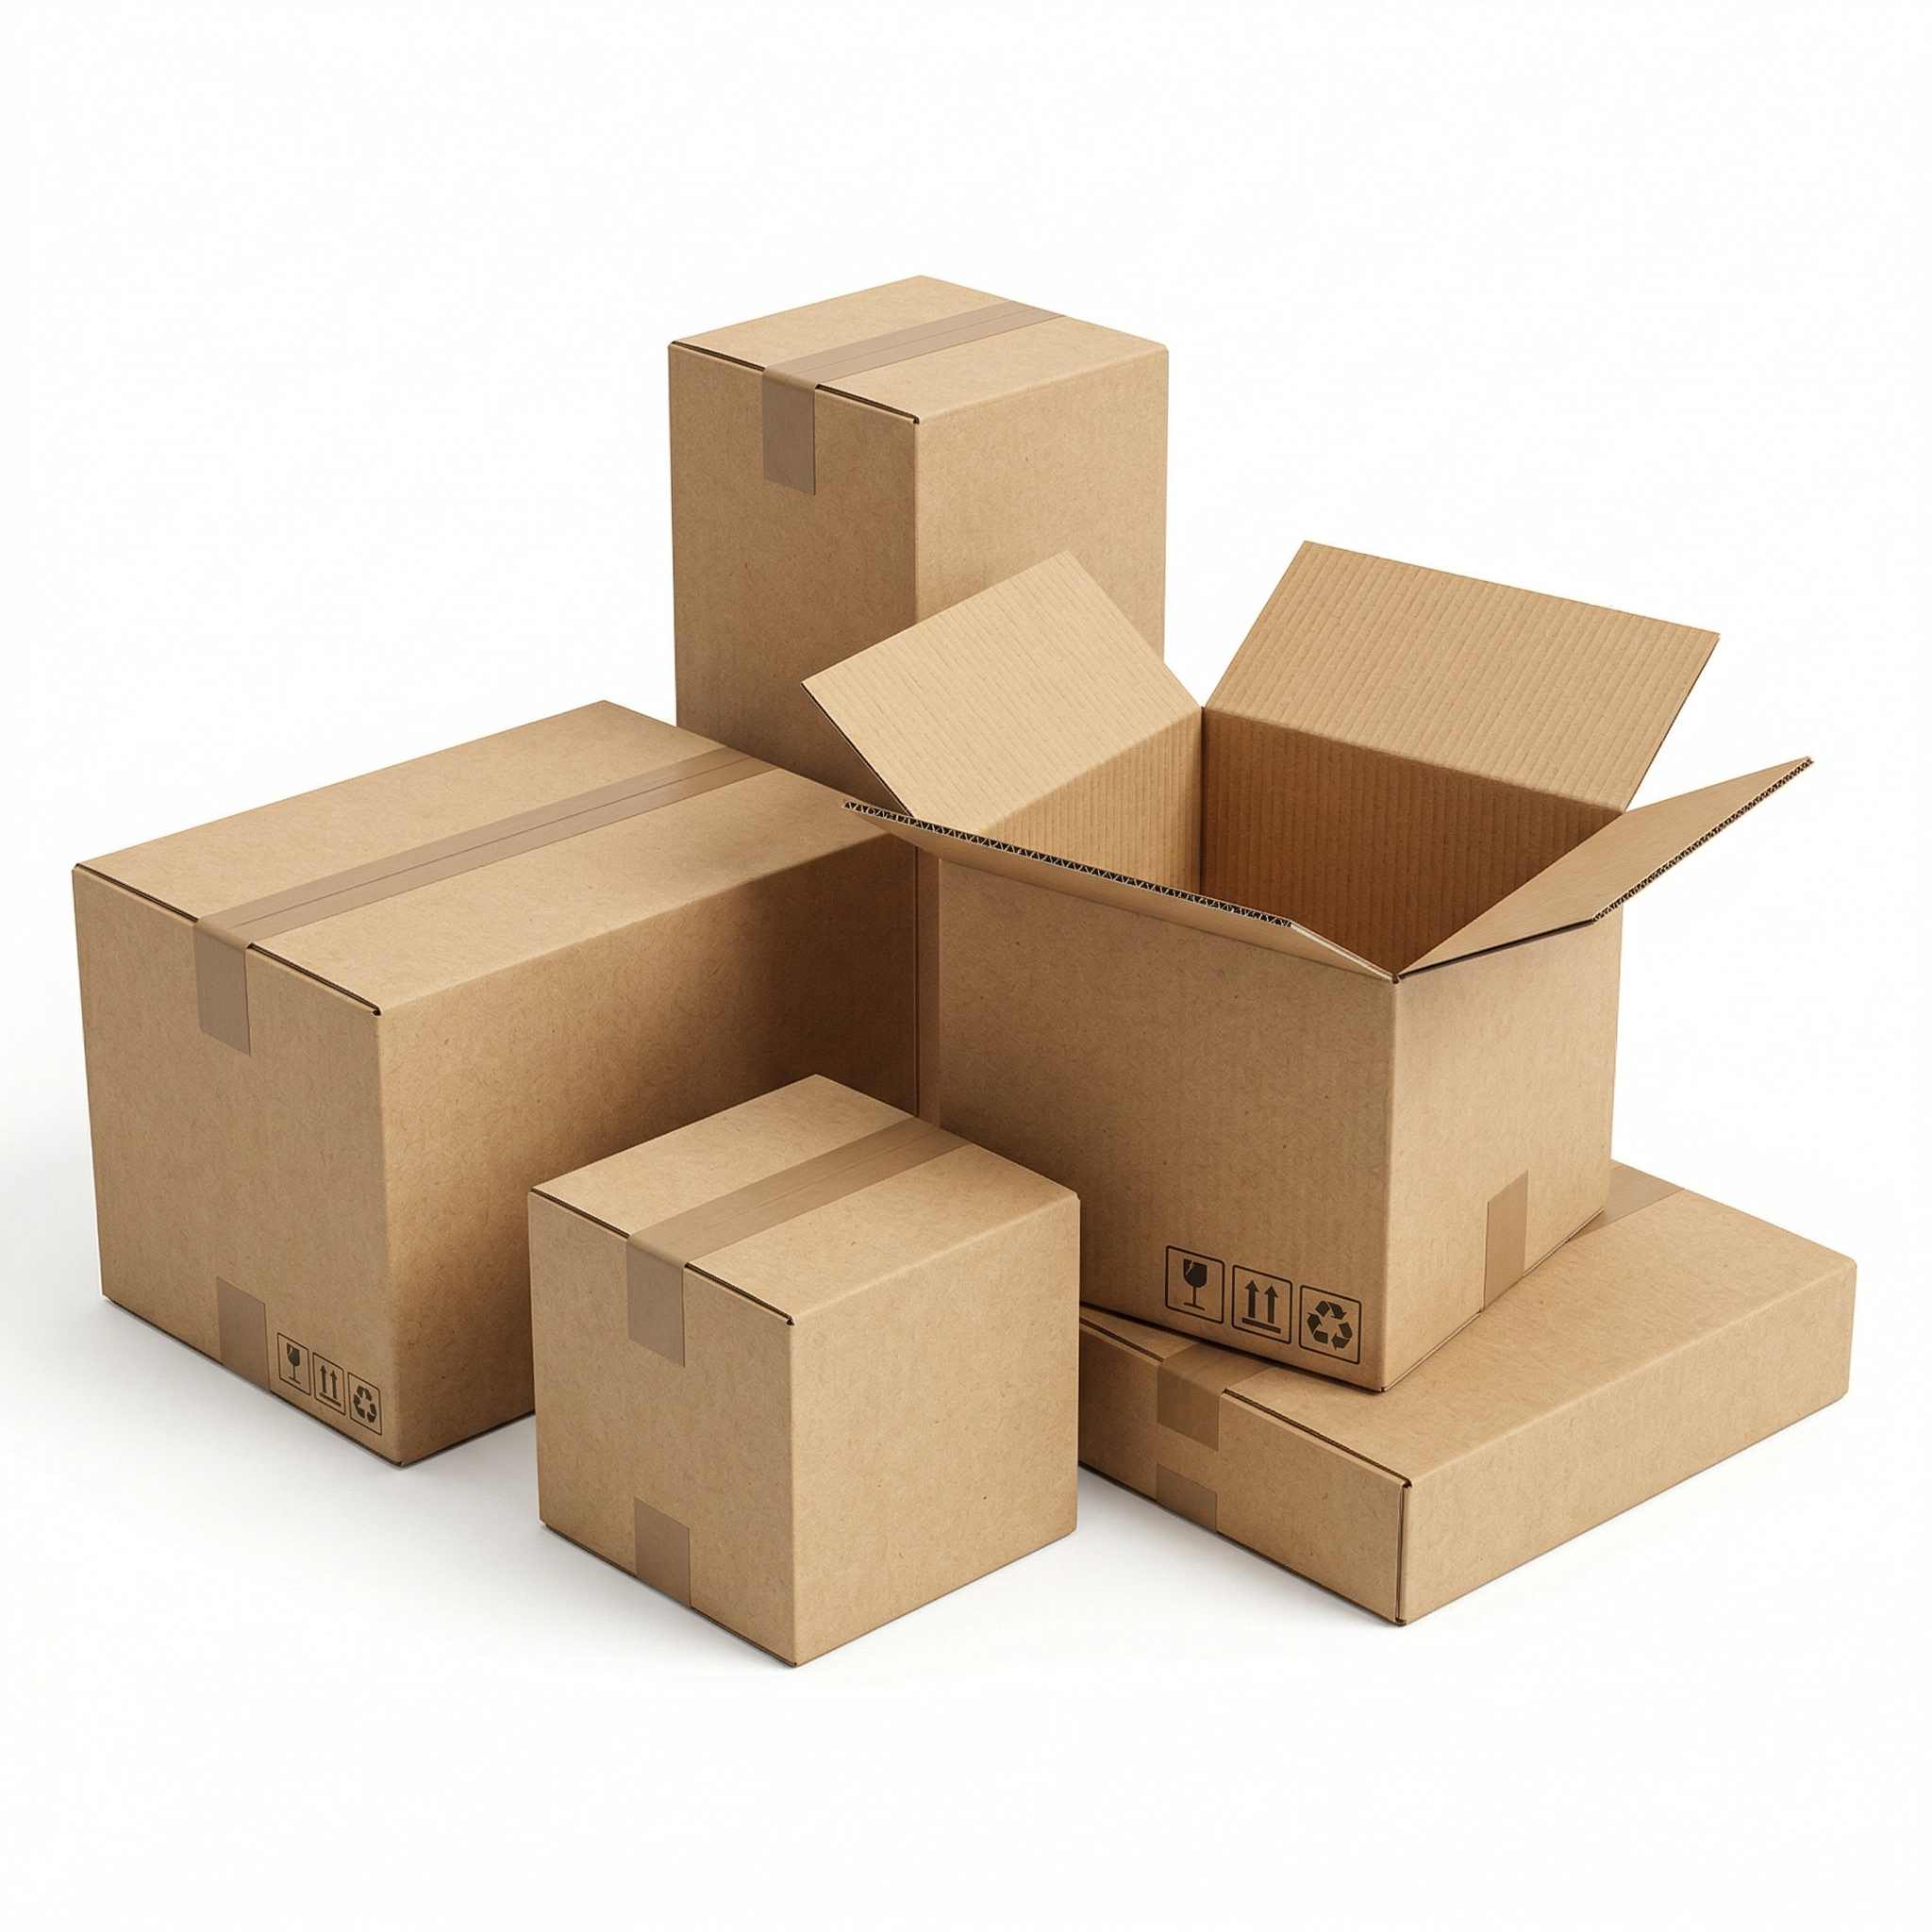
Standard shipping cartons generally come in larger sizes and are designed for heavy goods or bulk shipments. The assembly priority lies in a solid base and tight tape reinforcement.
Step 1: Expand the carton into shape
Stretch the flat carton horizontally so it pops open into a three-dimensional rectangular prism. Push the diagonal corners outward to ensure all sides stand perpendicular without distortion.
Step 2: Fold the bottom flaps
Flip the carton upside down to expose the base. Fold the two shorter inner flaps inward first, then align and cover them with the two longer outer flaps.
Step 3: Seal and reinforce the base with an H-shape tape pattern
Run a strip of packing tape across the central seam of the two long flaps, extending 5 to 10 centimetres of tape onto each side panel. For heavy items, attach an extra tape strip along each vertical edge of the base to form an H-shape, preventing the bottom from splitting open.
Step 4: Fill products and seal the top
Flip the carton back upright, place your goods inside and fill all empty spaces with bubble wrap, shredded paper or other cushioning materials. Fold the top flaps using the same method as the base and seal tightly with tape. Press the tape firmly against the cardboard for strong adhesion.

Final Inspection After Packing-Shipping cartons
Take a few seconds to carry out a quick quality check before dispatching shipments:
Right-angle check: Are all box edges straight and corners sharp?
Surface check: Does the box bulge unnaturally from overstuffing?
Lock check: Are all tabs of Shipping cartons fully inserted with no warped corners?
Common Mistakes to Avoid
Skipping pre-folding: Hard folding without loosening cardboard along score lines can crack the board or create crooked edges.
Forcing locked tabs: Never jam mailer box tabs into slots by force if they do not slide in smoothly; realign the panels first for easy insertion.
Overpacking: Overfilling cartons bulges the top or side panels, making them prone to crushing during stacking and transit.
Looking for High-Quality Custom Shipping cartons That Are Simple to Assemble?
Want to streamline your packing workflow and elevate customers’ unboxing experience? Premium raw materials and precision-scored designs are essential. Green Packaging supplies custom shipping cartons and mailer boxes featuring robust structures, effortless folding and high-definition printing, helping your brand stand out perfectly.